Last Updated on 6 months by On Trends Gear
A significant technical issue that many people who use Windows experience on their desktop computers and laptops is that the HDMI connector needs to be fixed.
Several different triggers may cause this problem, and in this article, we will discuss some of the most efficient ways to Fix HDMI Not Working on Windows 10.
it so that you can connect various peripherals to your computer easily.
Table of Contents
Can You Directly Display HDMI Input on a Laptop?
A laptop cannot show HDMI input directly. Laptop HDMI ports are for output only; they are not for input.
They deliver audio and video signals to an external monitor or TV.
For a laptop to show HDMI input, a capture card is required.
A capture card is an apparatus that transforms HDMI input signals into a laptop-displayable format.
It’s essential to select a capture card that works with both your laptop and the device you’re attempting to connect to among the available wide variety.
Once you have a capture card, you need to connect the device you are attempting to connect to to your laptop.
Depending on your sort of capture card, there will be different instructions for attaching it.
Installing the included software is necessary as soon as the capture card is attached.
With the help of this program, you can set up the capture card and see the HDMI input on your laptop.
Can I Use My Laptop as a Second Monitor?

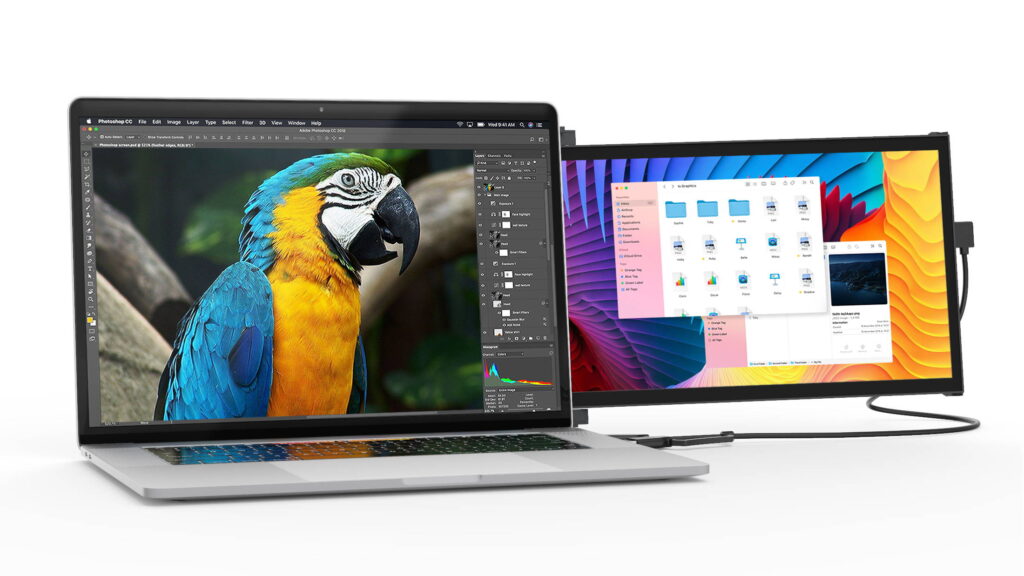
You can use your laptop as an additional desktop monitor if you own both a desktop and a laptop.
The sole need is that both computers run the same operating system, either Windows or macOS.
With one computer running Windows and the other macOS, you can’t accomplish this consistently and effectively—at least not without using third-party software to complete the task.
5 Ways to Fix HDMI Not Working on Windows 10?

1. Check the HDMI Cable Connection
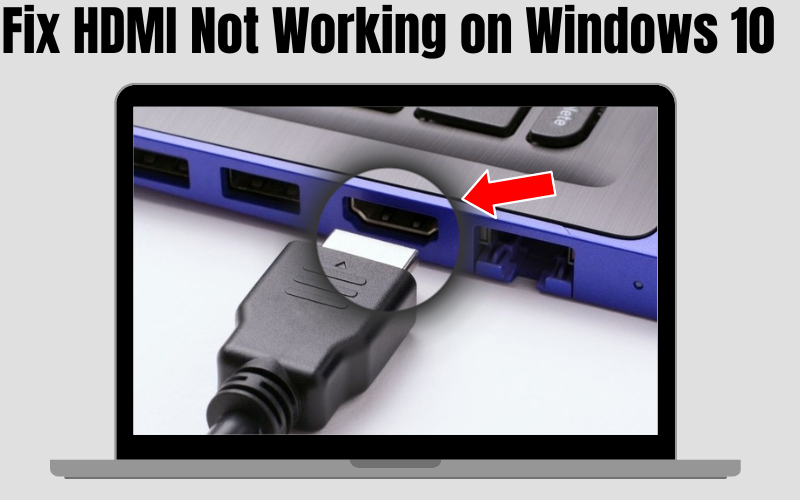
It’s essential to examine the HDMI cable connection first because loose connections and defective cables are frequently the significant causes of HDMI malfunctions.
Inspect your HDMI cables and search for any physical damage indicators.
To successfully connect, you’ll need to purchase a new HDMI cable;
However, if the cable isn’t physically broken, detach it from your computer, wait a few minutes, and then rejoin it to see if the external monitor begins to display visual content.
2. Run Hardware and Devices Troubleshooter
One helpful tool in Windows 10 is the pre-installed hardware and device troubleshooter, which may assist you in fixing various hardware-related problems, including this one.
The troubleshooter will identify and fix the faulty hardware immediately.
To use the troubleshooter, follow a few steps and give it time to finish.
Using the search box at the bottom, use Cortana to open the command prompt.
Enter cmd, then choose Run as Administrator from the menu when right-click the command prompt.
There will be a pop-up window. Type “msdt.exe -id DeviceDiagnostic” in this line and press Enter.
You’ll see a new window for troubleshooting devices and hardware.
To let the software identify and resolve any problems you may be having, click next.
To fix the HDMI port, you must adhere to the on-screen directions provided by the troubleshooter, which will automatically identify the hardware-related problem and offer a precise solution.
3. Change Display Settings.
If the Windows 10 troubleshooter fails to fix the problem, you might have to tweak your PC’s display settings when using two screens.
To get the most out of your external monitor, it’s crucial to tweak a few display settings to fit your needs.
If your computer’s HDMI connector isn’t functioning, try these steps to adjust the display settings.
To open the display settings menu, press the Windows key and the letter p simultaneously.
Four choices will show up for you to choose from.
- PC Screen Only: Just the first monitor will be used.
- Duplicate: This will make a copy of the content on both screens.
- Extend: This will make the content on both displays fill the entire screen.
- Second Screen Only: Only the second screen will display content in this case.
Select the appropriate parameters based on your needs.
To show content on the second screen, you’ll need to pick one of the last three choices.
4. Update or Reinstall your Graphics Driver

An out-of-date graphics driver is one software-related problem that might cause the HDMI port to malfunction.
Update your PC’s graphics driver and check whether the HDMI connection begins to function.
It may surprise you to learn that outdated drivers are frequently the root cause of many Windows-related issues, and this is one of them.
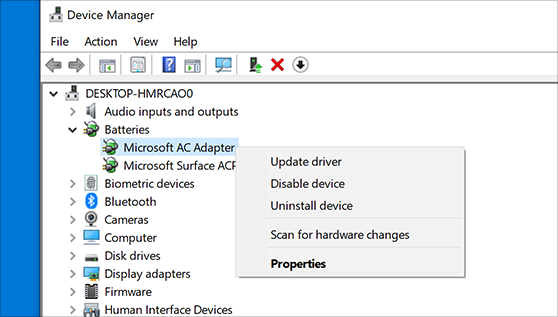
Go to Device Manager by pressing Windows X.
Extend the choice for display drivers. You may now select the Update driver by right-clicking on your primary drivers.
Select “Search automatically for drivers” at this point.
To finish the driver download procedure, follow the on-screen directions to download them online.
After the graphics driver update has been completed successfully, restart your computer and attempt to connect via HDMI.
5. Set HDMI Device as Default.
Verify that the HDMI device you are using is set as the default.
Most of the time, your Windows system will only function with your HDMI device if configured as the default device.
This may be the cause of your inability to hear audio over the HDMI;
Thus, you must make the HDMI device you want to use the default device by doing the following:
Right-click the volume icon, select “Open Sound Settings,” and then press the “Sound Control Panel” button.
Choose the preferred playback device under the playback tab and press the set default button.
Conclusion
Using the methods discussed, you can resolve the issue of your Windows 10 computer’s malfunctioning with HDMI.
Remember that if none of these options successfully fix the problem, the HDMI port on your personal computer may be damaged.
If this is the case, you must get it fixed by a trained specialist.
Continue reading; HDMI Output On TV – Can You Connect TV Without HDMI Output?